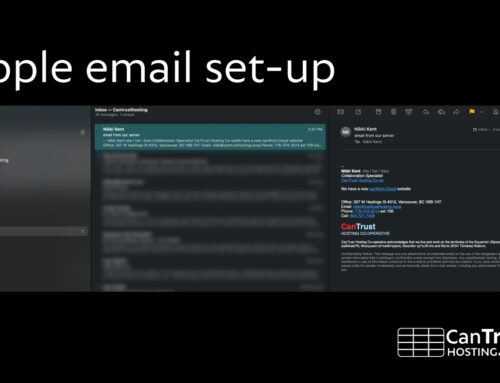
Mail for Apple iPhone
For domain email or canwork.cloud email set-up
1
Settings go to:
- Apps

2
Mail Accounts
- Add Account
- Add Account type “Other”


3
Add Mail Account

4
Incoming Mail Server
- Host name: ctmail.ct.coop
- Username/Email address
- Password
Outgoing Mail Server
- Host name: ctmail.ct.coop
- Username/Email address
- Password

5
DONE
- Next, choose “Mail” and “Notes”
- Hit “Save”